Aloe Vera: How to Grow Succulent Skin & Digestive Aid Indoors
Step-by-step: grow, harvest, and use Aloe Vera as your go-to home remedy for healthy skin and gentle digestion.
THE PERFECT PAIR
Discover the best food combinations for digestion and vitality—simple swaps for a happier gut and more energy!
Download Free GuideAloe Vera isn’t just a trendy houseplant—it’s a medicinal powerhouse famous for healing skin and supporting digestion. Easy to grow indoors, Aloe Vera (Aloe barbadensis) can provide fresh, soothing gel right at your fingertips. Discover how to cultivate this succulent at home and harness its skin-loving and digestive benefits.
Fun Fact: Aloe Vera was known as the “plant of immortality” by ancient Egyptians and used by Cleopatra as part of her legendary beauty routine!
How to Plant Aloe Vera Indoors
Growing aloe vera indoors is simple and rewarding—it’s one of the easiest medicinal plants to keep year-round. Known for its soothing gel and air-purifying qualities, aloe thrives with minimal attention when given the right light and soil. Whether placed in your kitchen, bathroom, or a sunny windowsill, aloe brings natural beauty and healing power right into your home.
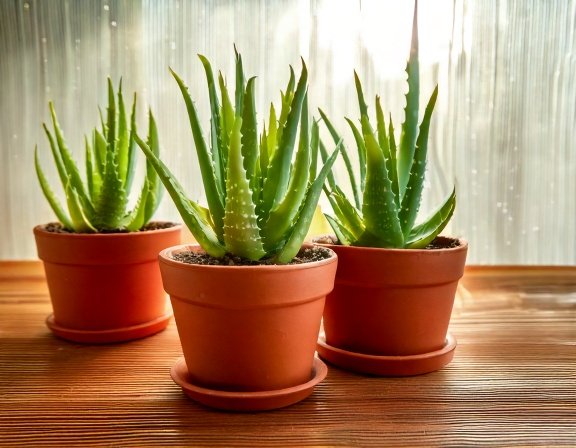
Step 1: Choose the Right Container
Select a pot with good drainage holes, as aloe dislikes sitting in water. Terra cotta pots are ideal since they allow excess moisture to evaporate easily.
Step 2: Use Well-Draining Soil
Fill the pot with a cactus or succulent mix, or make your own using equal parts potting soil, sand, and perlite. This ensures air reaches the roots and prevents rot.
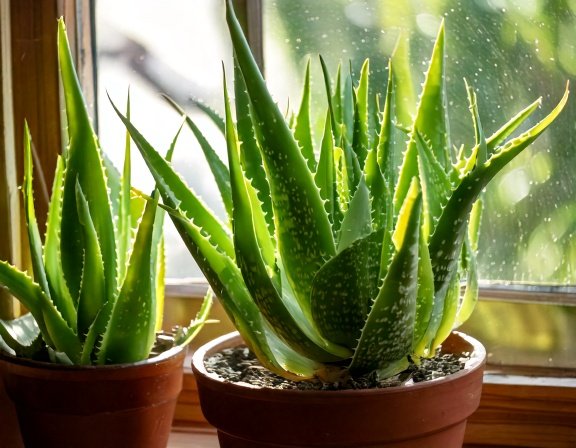
Step 3: Pick a Sunny Spot
Place your aloe near a bright, sunny window that receives at least 6 hours of indirect light per day. If light is limited, consider using a small grow lamp during winter months.
Step 4: Water Sparingly
Allow the soil to dry out completely between waterings—typically every 2–3 weeks. Overwatering is the most common mistake with aloe, so err on the side of dryness.
Step 5: Feed Occasionally
During spring and summer, feed your aloe once every 1–2 months with a diluted, balanced liquid fertilizer to encourage steady growth.
Step 6: Harvest Carefully
Once mature, snip outer leaves close to the base to collect the gel. Let the cut edge heal before the next harvest. The inner gel can be used for burns, skin care, or smoothies in moderation.
Quick Tip: Aloe vera prefers stability—avoid moving it too often, and keep it away from cold drafts. With light, warmth, and occasional care, your aloe will stay healthy and productive for years.
Gardener’s Tip: Let freshly cut Aloe pups dry for 1–2 days before planting—this prevents root rot by sealing the wound.
Caring for Your Aloe Vera Plants
Aloe vera is a resilient, low-maintenance plant—but a little care goes a long way in keeping it healthy, vibrant, and full of healing gel. Once established, it thrives with bright light, infrequent watering, and minimal fuss. Understanding how to nurture your aloe properly helps prevent common issues like root rot or drooping leaves and ensures a steady supply of fresh gel for skin care and home remedies. In this section, we’ll cover simple, effective ways to care for your aloe vera plants so they stay strong and flourishing all year long.
- Watering: Minimal—water deeply only when soil is completely dry (every 2–3 weeks)
- Feeding: Very sparingly; feed lightly every 6–8 weeks during growing season with diluted cactus fertilizer
- Lighting: Prefers bright indirect sunlight; avoid harsh direct sun that may scorch leaves
- Maintenance: Remove lower, older leaves occasionally to maintain health and appearance
- Gardener’s Tip: Aloe loves neglect! Overwatering is the primary cause of unhealthy plants. Always err on the side of dryness.
- Active Ingredient: Acemannan—a powerful polysaccharide known for soothing inflammation, supporting skin healing, and improving digestive health.
Harvesting and Preparing Aloe Vera
Harvesting aloe vera is simple and deeply rewarding—the fresh gel inside each leaf is a powerhouse for soothing burns, moisturizing skin, and supporting digestion when used properly. The key is knowing when and how to cut your aloe so it continues to grow strong while giving you the most potent gel. Mature plants with thick, outer leaves are ideal for harvesting, as they contain the highest concentration of nutrients and moisture.
Step 1: Choose Mature Leaves
Select firm, outer leaves near the base of the plant. These are the oldest and richest in gel. Avoid cutting the smaller inner leaves so the plant can continue growing.
Step 2: Cut Cleanly
Use a sharp, sanitized knife or scissors to cut the leaf as close to the base as possible. Handle gently to prevent bruising and loss of gel.
Step 3: Drain and Clean
Place the cut leaf upright in a bowl for about 10–15 minutes to let the yellow sap (aloin) drain out—this latex-like substance can be irritating to skin and bitter in taste. Rinse thoroughly before using.
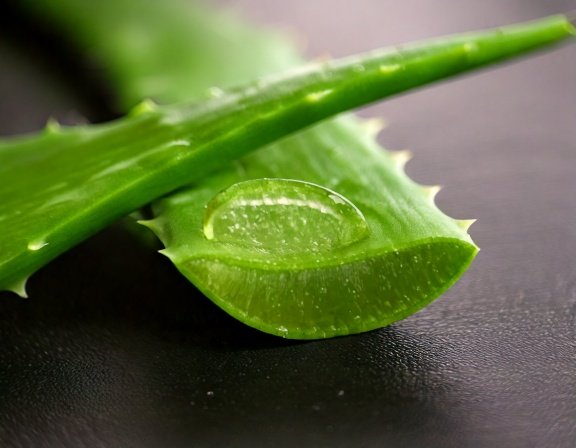
Step 4: Extract the Gel
Lay the leaf flat and carefully slice away the edges. Separate the top layer of skin to reveal the clear inner gel. Scoop out the gel with a spoon or knife and store it in a clean glass container.
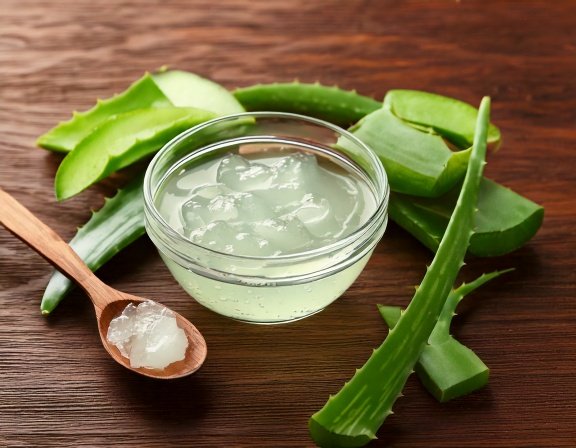
Step 5: Store Properly
Keep fresh aloe gel in the refrigerator for up to a week, or freeze it in small cubes for longer use. Avoid metal containers, as they can react with the gel’s natural compounds.
Quick Tip: Always harvest just what you need. Allow your plant to rest and regrow between harvests to maintain its long-term health and steady supply of healing gel.
Gardener’s & Fun Fact
Tip: Always discard the bitter yellow sap—it can irritate skin and digestive tract.
Fact: Aloe Vera gel contains over 75 active ingredients, including vitamins, minerals, enzymes, and amino acids!
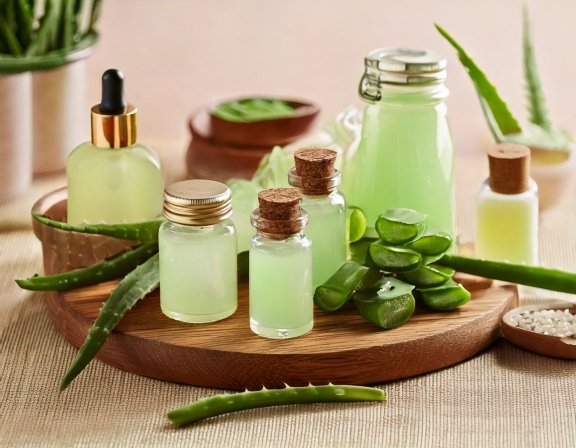
Using Aloe Vera for Skin & Digestive Aid
Aloe vera is one of nature’s most versatile healers—nourishing the skin from the outside while supporting digestion from within. Its clear inner gel is packed with vitamins, enzymes, and antioxidants that hydrate, soothe, and repair. Applied topically, it calms irritation, cools burns, and promotes healthy, glowing skin. Taken internally in small amounts, aloe can aid digestion, reduce inflammation, and support gentle detoxification. In this section, we’ll explore simple, safe ways to use aloe vera for both skin and digestive wellness—harnessing its natural cooling power for total-body balance.
- Skin Healing Gel: Immediate relief for burns, wounds, acne, and irritation
- Moisturizing Mask: Naturally hydrates skin, reduces inflammation and redness
- Digestive Aloe Juice: Supports digestion, eases acid reflux, and soothes gut inflammation
- Hair & Scalp Treatment: Soothes dry scalp, promotes healthy, shiny hair
- Ingredient Highlight: Aloe Vera’s enzymes help break down sugars and fats, gently aiding digestion and improving nutrient absorption.
VivoGut: 14 Nutrients & Herbs for Digestive Balance
- Features a unique blend of herbs, minerals, probiotics, and natural nutrients
- No harsh chemicals or synthetic fillers
- Works with your body’s natural rhythms for gentle support
DIGESTION TIMING & FOOD COMBINING CHEAT SHEET (PDF)
Unlock better digestion with our printable timing and food pairing guide—plus easy meal plan ideas!
Download Free GuideThis content is for educational purposes only, based on traditional use and available sources. Not medical advice. Always consult your healthcare provider before use, especially if pregnant, nursing, or on medication.